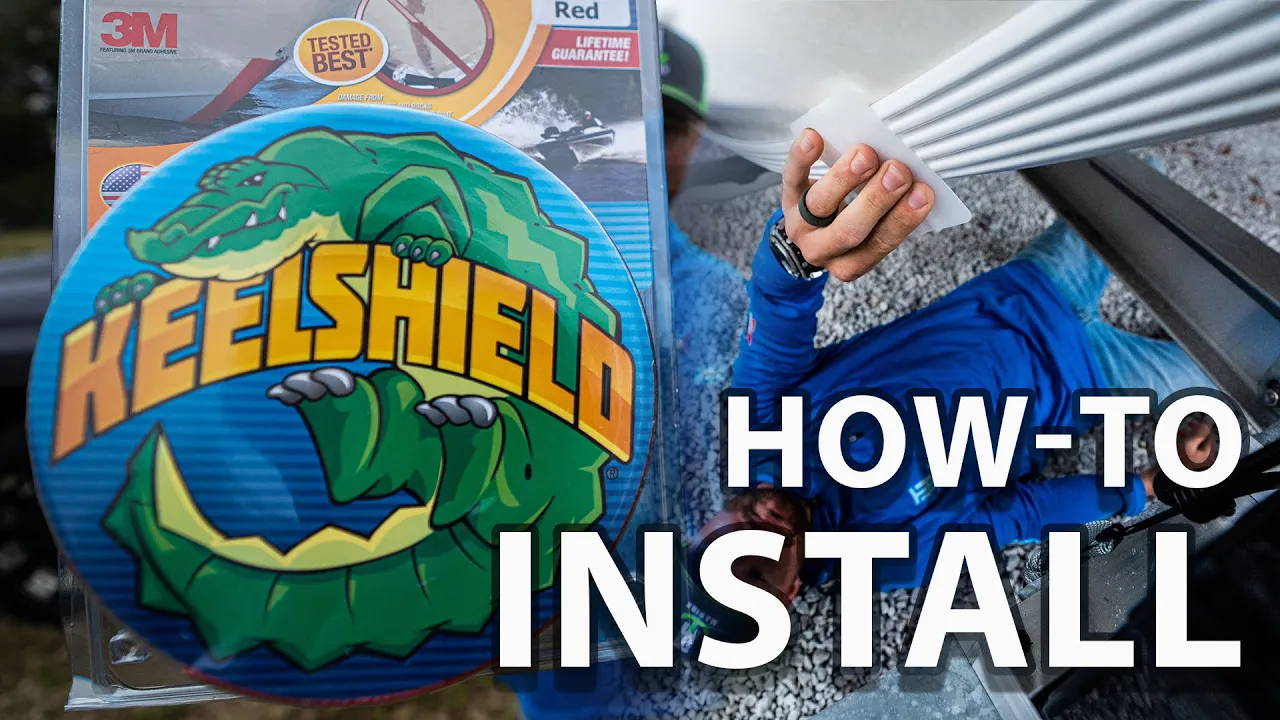
Adding a Gator Guard KeelShield to your boat is an excellent way to protect its hull from scratches, abrasions, and impacts caused by docking, launching, or running aground. This durable shield ensures your boat stays in great condition, extending its lifespan and preserving its value. Here’s a step-by-step guide to help you install the KeelShield properly.

How to Install a Gator Guards KeelShield
What You'll Need
- Gator Guard KeelShield kit
- Isopropyl alcohol (70% or higher)
- Clean cloth or microfiber towel
- 3M adhesive promoter
- Masking tape
- Measuring tape or straight edge
Step 1: Prep the Surface
1. Clean the Keel: Wash the keel thoroughly with soap and water to remove dirt, grime, and grease. Dry completely.
2. Degrease: Use isopropyl alcohol to clean the keel’s surface where the KeelShield will be applied. Ensure no residues remain.
3. Mask the Area: Use masking tape to outline the installation area and ensure straight alignment
Step 2: Mark the Installation Location
1. Start approximately 2-4 inches above the waterline or just under the bow eye.
2. Measure and mark the desired coverage length along the keel. KeelShields are available in various lengths; ensure you choose one that fits your needs.
Step 3: Apply Adhesive Promoter
1. Open the 3M adhesive promoter included in the kit.
2. Apply the promoter to the installation area within the taped section. Let it dry for the recommended time (usually 5-10 minutes).
Step 4: Attach the KeelShield
1. Open the 3M adhesive promoter included in the kit.
2. Apply the promoter to the installation area within the taped section. Let it dry for the recommended time (usually 5-10 minutes).
Step 5: Secure the Edges
1. Run your fingers or a roller along the edges of the KeelShield to ensure they are sealed tightly.
2. Remove the masking tape carefully.
Step 6: Allow for Curing
Let the adhesive cure for at least 24 hours before exposing your boat to water. This ensures maximum bond strength and durability.
Tips for a Perfect Install
- Perform the installation in a shaded or indoor area with temperatures between 60°F and 90°F.
- Avoid applying the KeelShield over existing scratches or damage; repair the surface first.
- If you’re unsure about alignment, create a chalk line as a guide.


