Skeg Repair: The 2 Easiest Ways to Fix a Broken Skeg

Skeg Repair: The 2 Easiest Ways to Fix a Broken Skeg

November 02, 2022

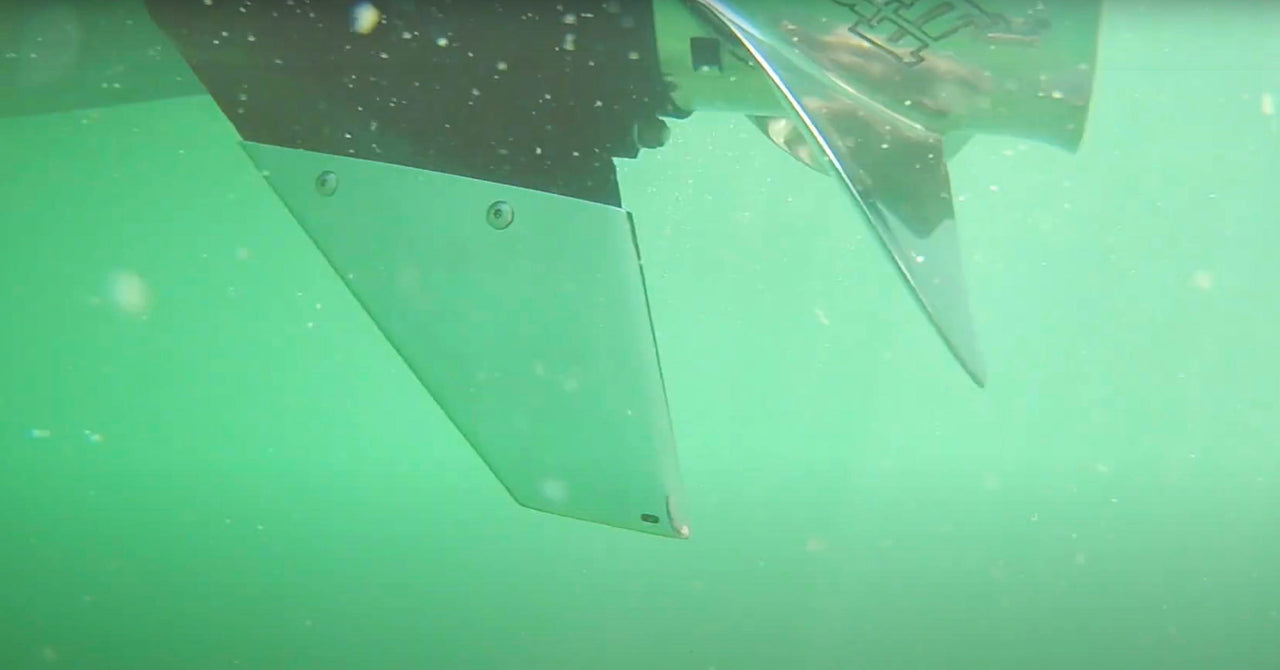
Ineffective steering, lack of directional stability, running rough and excessive vibration from your motor when opening the throttle — each of these is a sign that it’s time to look at your skeg. Of course, you may have noticed it looking beat up while trailering your boat or removing your prop, too. The bottom line is that if you have warping, chips, or even chunks taken out of your skeg, do not ignore it! It may be time for skeg repair or skeg replacement.

Thankfully, this may be one of the easier and less costly repairs you can do to seriously help your motor, and when you get it fixed, it can save you more than you might realize.

Skeg Repair - What is the skeg on my boat and where is itWhat is the Skeg on my Boat (and Where is it)?

On the lower unit of your outboard motor (or your sterndrive), there’s a downward-facing “fin” right below the propeller. This is your skeg. Its design, placement, and function are distinct from keels and rudders, but they are related and can complement each other on certain boats, too.

For most motorboats, your skeg is particularly critical because it helps you protect your propeller, steer your boat, maintain your direction, and stabilize your ride.

How Do I Repair a Broken Skeg?

How you go about getting your skeg repaired really depends on the amount and type of damage as well as the amount of effort you’re able to put in yourself. Most commonly, this involves some form of welding or bolt-on skeg repair.

Welding to Repair or Replace a Skeg

For small chips on your skeg, you may do just fine using marine welding epoxy. If you follow the directions, fill it in, smooth it down, and paint over it, it may be a quick and relatively inexpensive solution to restore your skeg. However, the process can still take some skill to get it right, you’ll still want to flatten any bends on your skeg, and there are no guarantees as to the durability of the solution.

Larger chunks and more serious damage requires more serious attention. This means professional or at least proficient welding when fully replacing a skeg or filling in chunks. It may also require grinding, painting, and more to restore it. If that’s not in your skillset, you may be shelling out about $300 to get your skeg repaired at a service center. That’s not pocket change, but it’s far better than letting the skeg damage lead to propeller damage and damage to your motor, either by impact or increased wear and tear.

Bolt-On Solutions for DIY Skeg Replacement

As an alternative to welding repairs, and also as a means to protect your skeg if it has only minor damage, you can opt for a DIY skeg guard that bolts on. SkegShields, for example, are easy to install. They require no welding, no messy glue, no adhesive, and no epoxy. Since there’s no curing involved, you don’t have to have the downtime required for other skeg repair options — with just about 30 minutes for install, you can get back out on the water pretty quickly.

There are quite a few benefits when you choose a SkegShield, including cost savings, easy installation, a 3 year warranty, and more. To learn more and get a peek at how it installs, check out the video below.

Also: Don’t Forget Your Prop

Your propeller and skeg work in tandem, so no matter how you go about getting your skeg repaired or protected, make sure your prop is in top shape. If you took major damage to your skeg and propeller, but only restored your skeg, you're only halfway to getting the performance and smooth operation you should get from your motor.

More Options for Protecting Your Boat

Worry-free boating is the best kind of boating and that’s what you get when you take a few small steps to guard your boat from harm. Of course, you’ll also get excellent performance, protection, and relatively easy installation. To explore those benefits and more, check out our review of several Gator Guards products in the blog post below.