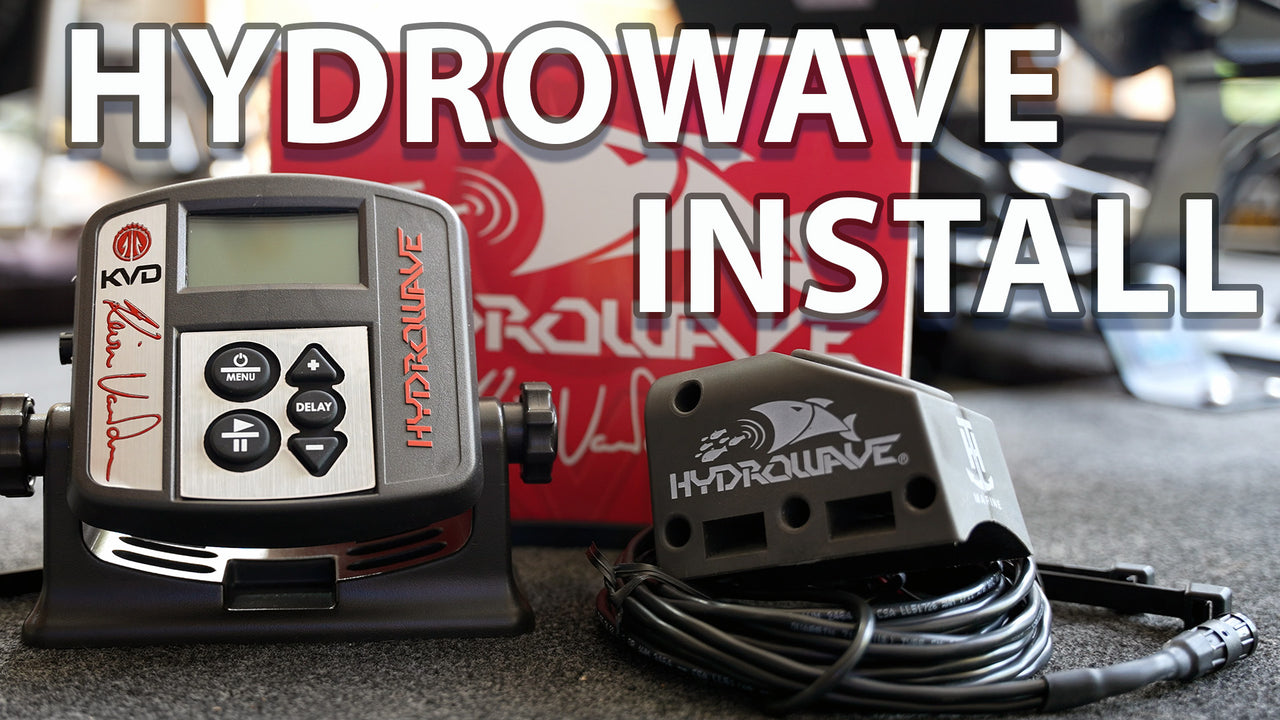
If you’re looking to enhance your fishing experience, installing a HydroWave on your boat is a great way to start. The HydroWave uses sound technology to attract fish, making it a popular tool among anglers. The good news is that installing it is simple and can be done in just a few steps. In this guide, we'll walk you through the entire process so you can get your HydroWave up and running quickly.

How to Install a HydroWave: Step-by-Step Guide
Step 1: Mount the Speaker
The first step in your HydroWave installation is to mount the speaker. This is the device that will emit the sounds designed to attract fish to your location.
1. Secure the Speaker: The speaker comes with zip ties for easy attachment to the barrel of your trolling motor. Find a spot on the motor where the speaker won’t interfere with its operation and secure it tightly using the zip ties.
2. Run the Cable: Once the speaker is mounted, you’ll need to run the speaker cable along the trolling motor shaft. This is best done by securing the cable with electrical tape or additional zip ties to prevent it from moving around while you're on the water. Be sure the cable is snug but not so tight that it could be damaged.
Step 2: Install the Head Unit
Next, you’ll need to find a spot to mount the head unit. The head unit is what you'll use to control the HydroWave, so it’s important to choose a location that’s both accessible and out of the way.
1. Choose a Location: Pick a spot on your boat where the head unit will be easy to reach but won’t be in your way while fishing. This could be on the dashboard, near your trolling motor controls, or another convenient spot.
2. Mount the Base Plate: Once you’ve chosen a location, use the included hardware to mount the base plate. Ensure that it's securely attached so that the head unit stays in place even in rough waters.
3. Place the Head Unit: After mounting the base plate, simply insert the head unit into place. It should click securely into the base plate, ready for use.
Step 3: Connect to Power
The final step in the installation process is connecting your HydroWave to a power source. This step is crucial for ensuring your HydroWave functions correctly and lasts for a long time.
1. Create a Water-Tight Connection: To protect your connection from the elements, use barrel connectors and heat shrink tubing to create a water-tight seal. This will help prevent corrosion and ensure that the connection remains strong.
2. Connect to Power Source: Finally, connect the power cable to your boat’s battery or fuse block. Make sure the connection is secure and double-check that everything is in place.
Power On and Go
And that’s it! With these three simple steps, your HydroWave is ready to use. Whether you're a seasoned angler or new to fishing, this installation process is quick and easy, allowing you to focus more on what really matters – catching fish.


